Note: This tip is for use with 7.2 and earlier releases of SecureCRT and SecureFX for Windows.
Have you ever wanted to try out a new version of SecureCRT or SecureFX, but wanted to back up your configuration so you could revert to a “known good” setup if you made a configuration change you didn’t like? Perhaps you are moving to a new machine, and want to transfer your current configuration so you don’t waste time recreating sessions on the new machine. Or maybe you just want to play it safe; almost everyone knows someone who has lost important data as a result of a computer crash.
Whatever the reason, you might decide it is important to back up your SecureCRT/SecureFX configuration settings. If you’ve never done it, it can seem daunting and complex. In reality it’s fairly simple and involves just three basic steps:
The remainder of this document will provide more details of each of the steps outlined above, including an example walk-through.
To find out where SecureCRT/SecureFX are currently storing configuration files, open the SecureCRT or SecureFX Global Options dialog and select the Configuration Paths category.
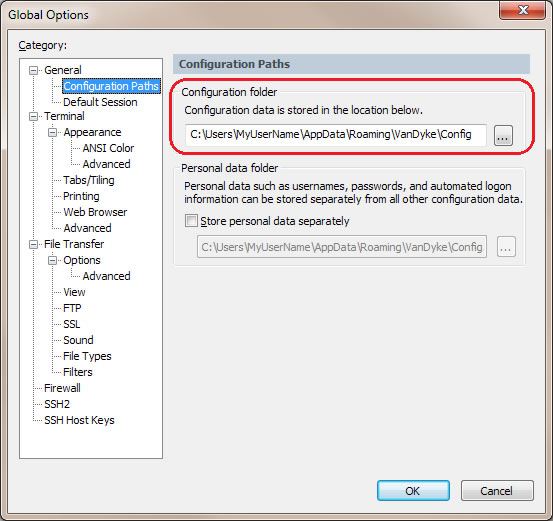
The Configuration folder setting shows where configuration files are kept. Press ALT+F to select the contents so the path can be copied (CTRL+C) to the Windows Clipboard (for pasting (CTRL+V) into the Windows Explorer address bar to navigate quickly to this folder location).
SecureCRT/SecureFX users are typically prompted for the configuration folder location the first time they launch the application. Different versions of SecureCRT/SecureFX running on different versions of Windows will store the configuration folder in different default locations. So be sure to check the Global Options dialog, rather than assume your current configuration is stored in the same place shown in the graphic above.
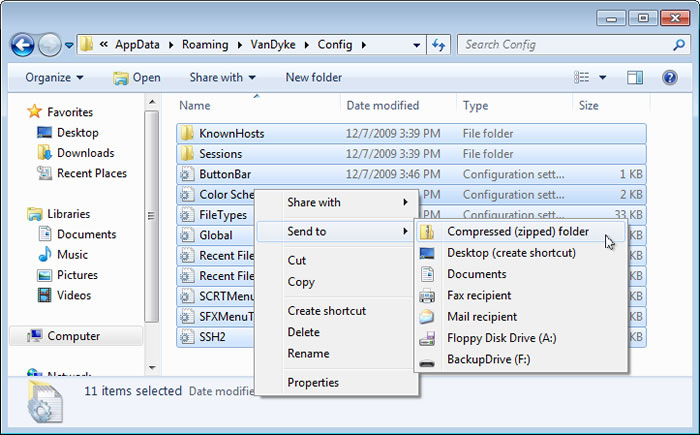
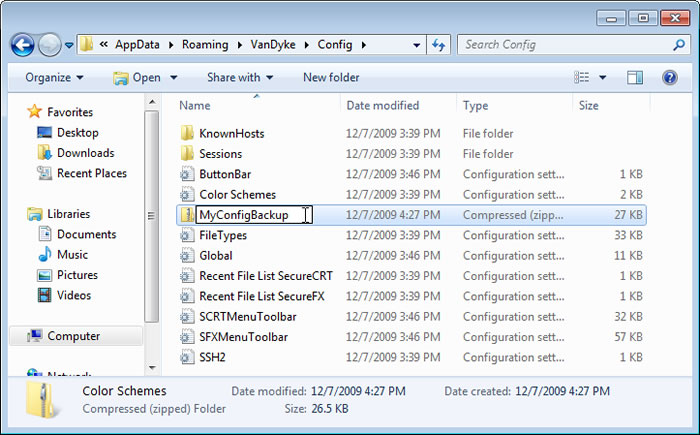
To back up your configuration, browse to the location of your configuration folder as shown above and copy the entire folder contents to your backup location. You can also choose to add your configuration folder to a compressed archive such as a zipped folder.
Note: It’s a good idea to close all instances of SecureCRT/SecureFX prior to backing up your configuration. Otherwise, recent changes made to your configuration may not be included in the backup.
Here’s a step-by-step example:
Tip: If you copied the configuration folder path from the Global Options dialog to the Clipboard, you can paste the path into the Windows Explorer address bar and press ENTER to navigate to the configuration folder more quickly. To activate the Windows Explorer address bar in preparation for pasting, press ALT+D.
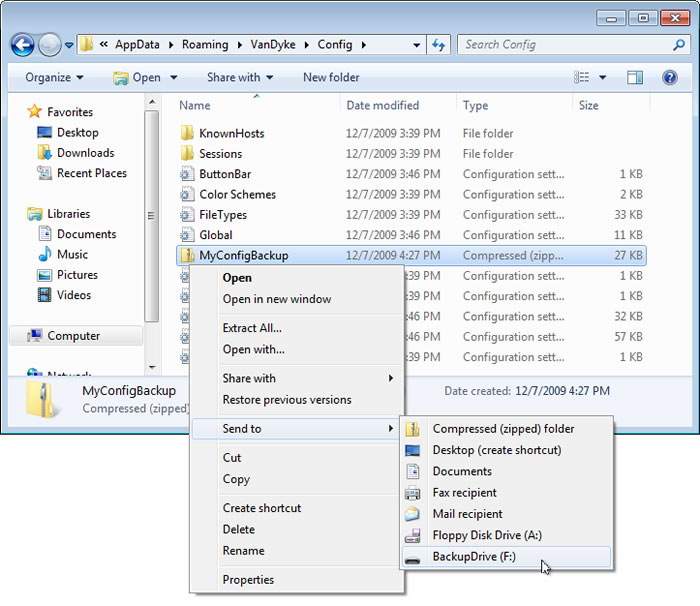
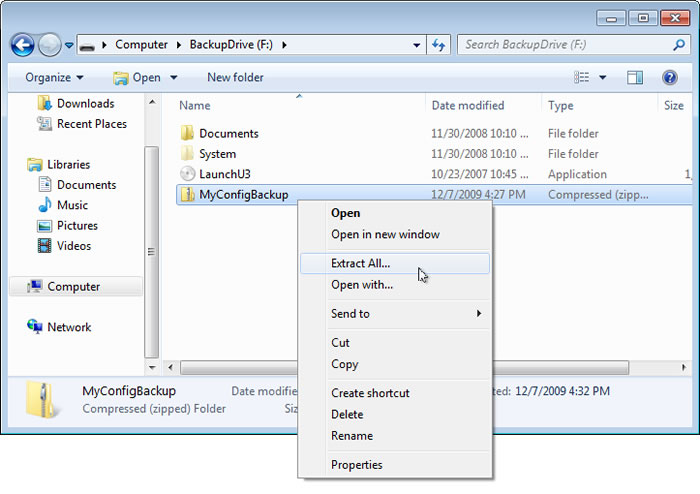
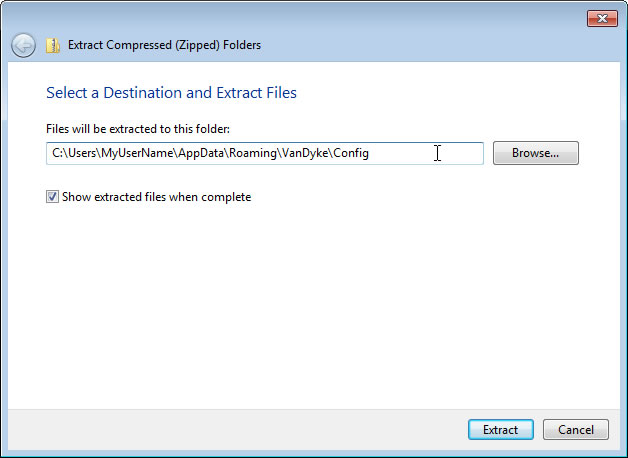
To restore your configuration, browse to the location of your backup files and copy them to your configuration folder. If you backed up your configuration to a compressed archive such as a zipped folder, extract the contents of the archived file to your configuration folder.
Here’s a step-by-step example of restoring a configuration from a compressed (zipped) folder archive:
VanDyke Software uses cookies to give you the best online experience. Before continuing to use this site, please confirm that you agree to our use of cookies. Please see our Cookie Usage for details.