If you're a VShell administrator, you might need to export VShell configuration settings for a number of reasons, including:
When VShell's configuration is exported, it is saved as an XML file. When an export or import is done, a log file with the extension .log is generated in the same location as the XML file; it will contain any warnings or errors generated during the export or import process.
If you are running version 4.2 or later, you can export and import the VShell configuration directly from the Control Panel. With earlier versions, you will need to use the command-line utility VShellConfig.
Before exporting VShell configuration settings, you must decide whether or not to include sensitive data such as private host keys, user database credentials, certificate files, and so on.
If you are writing out the VShell configuration in order to move or back up your server (e.g., reasons 1-3 above), you should do a complete export which includes sensitive data.
Starting with VShell version 4.2, you are required to enter a passphrase when performing a complete configuration export. VShell uses this passphrase to encrypt the sensitive data in the exported XML file. VShell requires that the same passphrase is provided when importing the configuration, so it is critical to be sure that the passphrase is kept securely and not lost.
With VShell versions earlier than 4.2, sensitive data in the configuration export is not encrypted. Therefore, it is very important to ensure that this file is not disclosed to any unauthorized persons.
However, if you are exporting the configuration to send to VanDyke, or to use as a basis for a subconfiguration file (e.g., reasons 4 and 5 above) you should do a partial export which does not include sensitive data.
+ Instructions for VShell 4.2.0 and later
+ Instructions for VShell 3.0 through 4.1.x
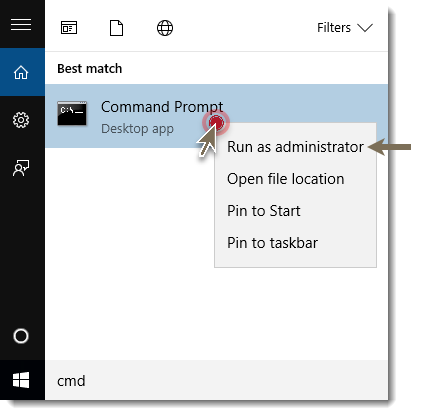
Open an Administrator: Command Prompt window by right-clicking CMD and choosing Run as administrator.
Within the Administrator: Command Prompt window, run the VShellConfig executable using the export command as shown in one of the command examples below to create a file called MyConfig.xml in the current working directory.
The general format for the command is:
The syntax changed slightly in VShell version 3.9.2 to include or omit sensitive data.
+ VShellConfig command example for VShell 3.9.2 through 4.1.x
To do a complete export of the configuration from VShell 3.9.2 through 4.1.x including sensitive data:
To do a partial export of the configuration from VShell 3.9.2 through 4.1.x without sensitive data:
+ VShellConfig command example VShell 3.0.0 through 3.9.1
To do a complete export of the configuration from VShell 3.9.1 and earlier including sensitive data:
To do a partial export in VShell 3.9.1 and earlier without sensitive data:
There are numerous VShellConfig options for including or excluding various settings and files during import or export. For example, if you are installing VShell on multiple servers and want to avoid installing the same host key on all machines, you can exclude the host keys during export by using the following command:
See the VShell Help file for details.
+ Instructions for VShell 4.2.0 and later
+ Instructions for VShell 3.9.2 through 4.1.x
Open an Administrator: Command Prompt window by right-clicking CMD and choosing Run as administrator. Run the VShellConfig executable using the import command:
Warning: the --overwrite flag will cause all files included in the xml file (potentially including the server hostkey) to replace those files on the current system, if they exist. The --overwrite flag should be omitted if this is not desired.
+ Instructions for VShell 3.0.0 through 3.9.1
Open an Administrator: Command Prompt window by right-clicking CMD and choosing Run as administrator. Run the VShellConfig executable using the import command:
VanDyke Software uses cookies to give you the best online experience. Before continuing to use this site, please confirm that you agree to our use of cookies. Please see our Cookie Usage for details.