The SecureCRT® and SecureFX® Default Session is used as the template for all new sessions. After making changes in the Session Options - Default dialog, these new settings will become the default settings for all new sessions. With SecureCRT 5.0 and later and SecureFX 3.0 and later, when applying changes to the Default Session, you will also be given the option to apply those same changes to all existing sessions.
Note: If you want to change session settings for a specific group of sessions, see this tip on Making Configuration Changes to Multiple Sessions.
Here are the steps you use to edit the Default Session and, if desired, apply the changes to all existing sessions.
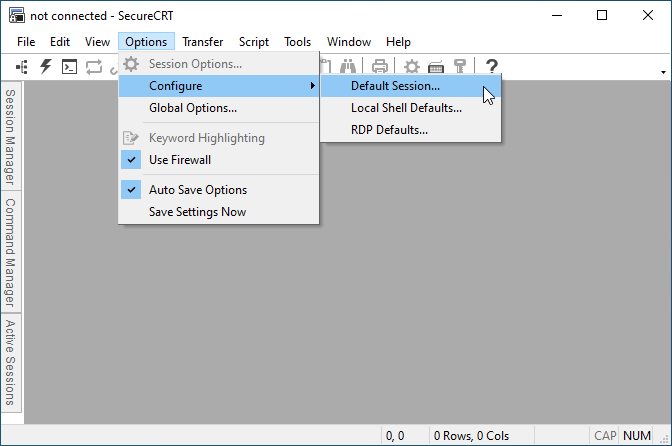
1. Open the Options menu, hover your mouse over the Configure expandable menu, and then select Default Session...
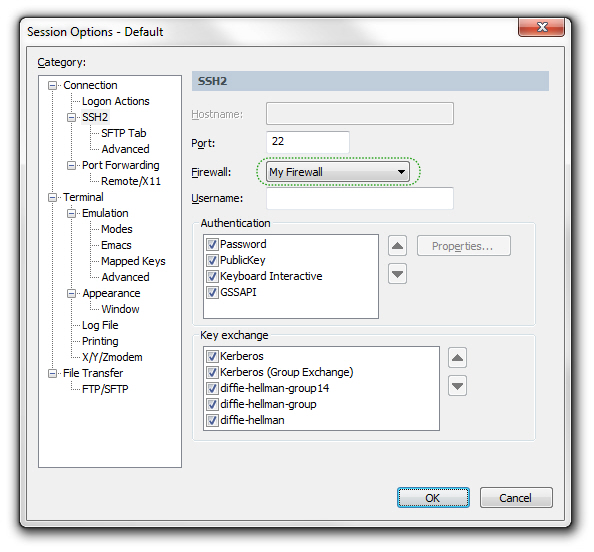
2. When the Session Options - Default dialog appears, edit only the options that you want to change in the Default Session (and optionally in all existing sessions). In the example below, the firewall has been changed. If you click the Cancel button, all changes will be ignored. If you click the OK button, all changes will be applied to the Default Session. Next, a confirmation dialog will appear asking if you want to apply the changes to all existing sessions.
3. When the confirmation dialog appears, select Yes to apply the changes you made to the Default Session and to all existing sessions. Select No to apply the changes only to the Default Session and not to all existing sessions.

Note: Protocol-specific options such as Port will only change for sessions that use the same protocol. All other options will affect all sessions. All future new sessions will have these default settings.
VanDyke Software uses cookies to give you the best online experience. Before continuing to use this site, please confirm that you agree to our use of cookies. Please see our Cookie Usage for details.